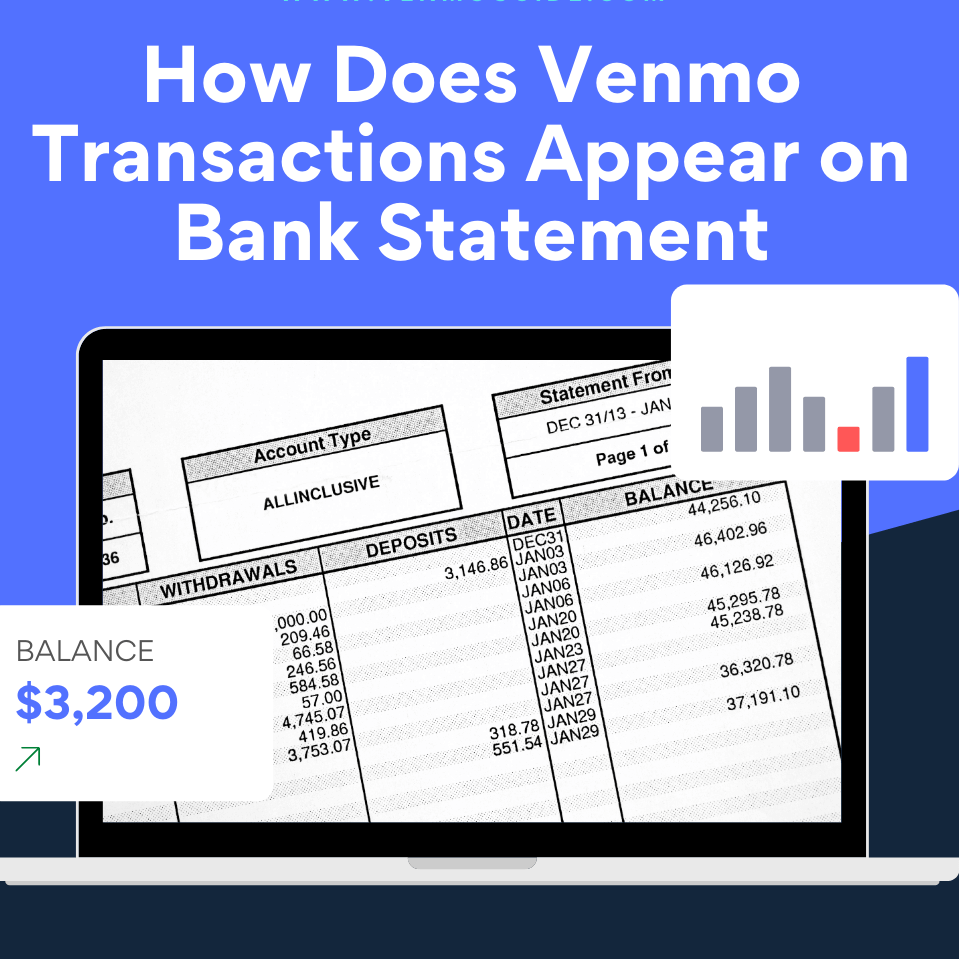
How Does Venmo Transactions Appear On Bank Statement? ✅


Hey there! Ever wondered how Venmo transactions appear on your bank statement? It’s important to have a clear understanding of this, as it directly relates to your financial accounts.

So, what can you expect from this guide? Well, we’ll start by explaining why it’s crucial to comprehend how Venmo transactions are displayed on your bank statement. Understanding the account details and descriptions associated with these transactions will help you keep track of your expenses and maintain accurate records.

Throughout this article, we’ll also walk you through an example transaction and answer any questions that may arise along the way. Our aim is to provide a comprehensive guide that will give you clarity on how Venmo transactions show up on your bank statement.

Ready to unravel the mystery? Let’s get started!

How Does Venmo Transactions Appear On Bank Statement

Read more: How Long Do Venmo Transactions Take? ✅

How Venmo Shows Up on Bank Statements

It’s important to understand how they appear on your bank statement. Here’s a breakdown of what you can expect:

  • Labeled Transactions: Venmo transactions are typically labeled with the company name “VENMO” or “PAYPAL” on your bank statement. This makes it easy to identify these transactions at a glance.
  • Sender and Recipient Names: Your bank statement will display both the sender and recipient names for each Venmo transaction. This allows you to see who initiated the payment and who received the funds.
  • Additional Details: In addition to the sender and recipient names, some bank statements may provide additional details about the Venmo transaction. This could include transaction IDs or any notes that were included with the payment.

For example, let’s say you sent $50 to your friend John Doe using Venmo. On your bank statement, you would see a transaction labeled as “VENMO” or “PAYPAL.” The sender’s name would be your name, while the recipient’s name would be John Doe. If you included a note like “Dinner last night,” this note may also appear on your bank statement.

Understanding how Venmo transactions show up on your bank statement can help you easily track and reconcile your expenses. Whether it’s splitting bills or paying friends back, keeping an eye on these transactions ensures accurate recordkeeping.

Differences Between Old and New Versions of the Venmo App

The new version of the Venmo app brings some notable changes to how transactions appear, both within the app and on your bank statement. Staying informed about these modifications is important to ensure you understand how your financial activities are being represented.

Changes in Labeling and Presentation

With the introduction of the new version, Venmo has made updates to how transactions are labeled and presented. These changes aim to enhance user experience and provide clearer information. Here are some key differences:

  • Updated Icons: The new version features redesigned icons for different transaction types, making it easier to identify payments, requests, or purchases at a glance.
  • Improved Categorization: Transactions now have more specific categories, allowing for better organization and tracking of expenses.
  • Enhanced Descriptions: The new app provides more detailed descriptions for transactions, providing additional context and clarity.

Implications on Bank Statements

While these changes primarily affect the app’s interface, they also have implications on how Venmo transactions appear on your bank statement. It’s crucial to be aware of these implications to avoid any confusion or concerns:

  • Clearer Transaction Details: With the updated labeling and enhanced descriptions in the new version, transaction details should be more transparent on your bank statement.
  • Consistent Formatting: The way Venmo transactions appear on your bank statement should align with how they are presented within the app itself.
  • Improved Readability: By providing more specific categories and detailed descriptions, it becomes easier to identify individual transactions when reviewing your bank statement.

Stay Informed

To ensure you stay up-to-date with any changes in how Venmo transactions appear on your bank statement:

  1. Regularly check for updates: Keep an eye out for notifications regarding app updates from Venmo.
  2. Review release notes: When updating the app, take a moment to read through any release notes provided by Venmo. These notes often highlight changes in transaction representation.

Decoding Venmo Terminology on Bank Statements

It’s important to familiarize yourself with the terminology used by the platform. This helps ensure that you can easily interpret and comprehend your transaction history without any confusion. Here are some key points to consider:

Identifying Common Terms Used by Venmo

Venmo often uses specific terms when displaying transactions on bank statements. By recognizing these terms, you can quickly understand the nature of each transaction. Some common examples include:

  • “VENMO PAYMENT” or “VENMO CASH-IN” indicating money received from another user
  • “VENMO CHARGE” or “VENMO CASH-OUT” representing payments made to other users or transferred to your bank account
  • “VENMO PURCHASE” signifying a payment made through Venmo at a participating merchant

Explaining Abbreviations or Codes

Occasionally, Venmo may use abbreviations or codes that might be unfamiliar at first glance. To avoid confusion, here are some explanations for commonly encountered abbreviations:

  • ACH: Automated Clearing House, referring to electronic funds transfers between banks
  • POS: Point of Sale, indicating a purchase made using a debit card at a physical store
  • EFT: Electronic Funds Transfer, representing money moved electronically between accounts

Understanding these abbreviations will help you better comprehend the details of your transactions.

Ensuring Easy Interpretation of Transaction History

Venmo strives to make its transaction history as clear and user-friendly as possible. By providing detailed descriptions and categorizing transactions appropriately, users can easily identify their activity. Venmo allows users to add notes or memos alongside each payment for further clarity.

Accessing and Reviewing Venmo Transaction History

Venmo provides a convenient way to track your transaction history within the app. By following these simple steps, you can access and review your entire transaction history for accuracy and security purposes.

  1. Open the Venmo app on your mobile device.
  2. Log in to your account using your username and password.
  3. Once logged in, navigate to the main menu by tapping on the three horizontal lines in the top-left corner of the screen.
  4. In the menu, select “Settings” or “Privacy & Security,” depending on your app version.
  5. Look for the option labeled “Transaction History” or similar wording.
  6. Tap on it to access your transaction history.

Now that you have accessed your transaction history, you can review past transactions to ensure everything is as expected. Here are some key points to consider:

  • Check each transaction’s details, including date, time, recipient’s username or contact information, and amount transferred.
  • Verify that all transactions were authorized by you and reflect accurate wallet balances.
  • If you notice any discrepancies or unauthorized activities in your transaction history, contact Venmo customer support immediately for assistance.

Regularly monitoring your Venmo transaction history is essential for maintaining privacy and ensuring the security of your funds. By keeping an eye on this record, you can track peer-to-peer payments accurately and identify any potential issues promptly.

Remember, if you prefer accessing Venmo through a web browser rather than the mobile app, simply visit their website and log in with your credentials. The process for accessing and reviewing transaction history remains similar across platforms.

Take control of your finances by staying informed about every aspect of your Venmo transactions. Accessing and reviewing your transaction history empowers you to maintain privacy records while enjoying a seamless payment experience with added peace of mind.

Identifying Venmo Transfers on Your Bank Statement

Recognizing Venmo transfers on your bank statement can sometimes be a bit tricky. Different banks may use varying wording to describe these transactions, making it important to know what to look for. Here are some helpful tips to help you distinguish Venmo transfers from other types of transactions:

  • Look for specific keywords or phrases related to Venmo transfers on your bank statement. These may include terms like “Venmo,” “Venmo transfer,” or even the name of the recipient.
  • Keep in mind that different banks might use different terminology. While some statements may explicitly mention “Venmo,” others could refer to it as a “peer-to-peer payment” or simply as an electronic transfer.
  • Pay attention to any additional details provided, such as the profile picture associated with the transaction. If you have connected your Venmo account with a profile picture, it might appear alongside the transaction on your bank statement, helping you identify it more easily.

To better understand how Venmo transfers appear on your bank statement, here are a few examples:

  • Bank A: Transaction description – “Venmo Transfer – John Doe”
  • Bank B: Transaction description – “Peer-to-peer Payment – Jane Smith”
  • Bank C: Transaction description – “Electronic Transfer – Profile Picture”

By familiarizing yourself with these indicators and variations in wording across different banks’ statements, you can quickly identify Venmo transfers and differentiate them from other transactions.

Remember, being able to recognize these transactions is essential for managing your finances effectively and ensuring accurate recordkeeping.

Managing and Deleting Venmo Transaction History

Guidelines for managing transaction history within the app

To effectively manage your Venmo transaction history, follow these guidelines:

  • Open the Venmo app on your mobile device.
  • Tap on the “☰” menu icon located in the top left corner of your screen.
  • From the menu options, select “Settings.”
  • Scroll down and tap on “Privacy.”
  • Under the “Past Transactions” section, choose whether you want your transactions to be visible to everyone or just yourself.

Tips for deleting individual or multiple transactions from your account

If you wish to remove specific transactions from your Venmo account, consider these tips:

  1. Launch the Venmo app and log in to your account.
  2. Locate the transaction you want to delete by scrolling through your transaction history.
  3. Once you find the desired transaction, tap on it to open its details.
  4. On the transaction details page, click on the three-dot icon (⋮) located at the top right corner of your screen.
  5. Select “Remove” from the options presented.
  6. Confirm deletion by tapping “Yes.”

To delete multiple transactions simultaneously:

  1. Access your transaction history within the Venmo app.
  2. Tap on the checkbox beside each transaction you wish to delete or use the select all option if available.
  3. Once you have selected all desired transactions, tap on the trash can icon (🗑️).
  4. Confirm deletion by tapping “Delete.”

Cautionary advice regarding permanent deletion and its implications

While deleting transactions may seem convenient, keep in mind a few cautionary points:

  • Deleted transactions cannot be recovered once permanently removed from your account.
  • Be certain about removing any sensitive or important information as it will be irretrievable.
  • Consider exporting or saving any necessary records before deleting them.

By adhering to these guidelines and utilizing Venmo’s transaction management features, you can effortlessly organize and control your transaction history within the app.

Ensuring Clarity in Venmo Transactions on Bank Statements

Suggestions for ensuring accurate and clear transaction details on bank statements

  • Verify recipient information before initiating transactions to avoid any confusion or mistakes.
  • Double-check the account number, username, or email address of the recipient to ensure funds are sent to the intended party.
  • Confirm that the transaction amount is correct before finalizing the payment.

Importance of verifying recipient information before initiating transactions

  • Verifying recipient information is crucial to prevent sending funds to the wrong person, which can lead to complications and potential disputes.
  • Take a moment to confirm the recipient’s identity by cross-referencing their contact details or asking for clarification if necessary.

Tips for maintaining organized records to avoid confusion or disputes

  1. Keep track of all your Venmo transactions by regularly reviewing your bank statements and online banking records.
  2. Consider labeling specific transactions with relevant descriptions or tags within your online banking system.
  3. Create a separate folder or digital file where you can store receipts, screenshots, or any other documentation related to your Venmo transactions.
  4. If there are any discrepancies or issues with a particular transaction, reach out to your financial institution promptly for assistance.

By following these steps and suggestions, you can ensure that Venmo transactions appear clearly on your bank statements and maintain accurate financial records. Taking proactive measures not only helps with organization but also enhances security and reduces the likelihood of misunderstandings when reviewing your bank statement.

Please note that while Venmo is owned by PayPal, it operates as a separate entity, so it’s essential to review your bank statements specifically for Venmo-related transactions.

Remember: Stay vigilant when handling financial information and always prioritize security in all your online transactions.

Conclusion: Understanding How Venmo Transactions Appear on Bank Statements

Congratulations! You’ve now gained a comprehensive understanding of how Venmo transactions appear on your bank statements. By decoding the terminology, accessing and reviewing transaction history, and managing your Venmo activity, you can ensure clarity and accuracy in your financial records. So, next time you see a mysterious entry on your bank statement, you’ll know exactly where it came from and what it means.

Now that you’re equipped with this knowledge, take control of your finances like a pro. Keep track of your Venmo transactions regularly to spot any discrepancies or unauthorized activity. Remember, maintaining a clear record not only helps you stay organized but also provides peace of mind. So go ahead, dive into the world of Venmo transactions with confidence!

FAQs

Can I link multiple bank accounts to my Venmo account?

Yes, you can link multiple bank accounts to your Venmo account. Simply navigate to the “Settings” tab in the app and select “Payment Methods.” From there, you can add additional bank accounts by following the prompts.

Are there any fees associated with transferring money from Venmo to my bank account?

No, there are no fees for standard transfers from Venmo to your linked bank account. However, if you choose an instant transfer option for faster access to funds, a small fee will apply.

Can I dispute a transaction on my Venmo account?

Yes, if you notice any suspicious or unauthorized activity on your Venmo account, it’s essential to report it immediately. Contact Venmo support through their website or app for assistance in disputing the transaction and securing your account.

Is my personal information safe when using Venmo?

Venmo takes security seriously and employs encryption protocols to protect user data. However, it’s important to practice good online security habits, such as setting a strong password and enabling two-factor authentication to further safeguard your personal information.

Can I use Venmo for business transactions?

Venmo is primarily designed for peer-to-peer payments between individuals. While some small businesses may accept Venmo, it’s recommended to explore other payment options specifically tailored for business transactions to ensure proper accounting and legal compliance.

Rohan

Hello! I'm Rohan Karmakar. With years of expertise in P2P platforms such as Venmo, Cash App, and Netspend, I'm dedicated to clarifying digital transactions for individuals and businesses alike. My mission is to enhance your digital transaction experience, ensuring it's both straightforward and efficient."

Recent Posts